I received some questions from readers of my blog this week on how to take portraits and the lighting in my portraits. I thought I'd share an easy tutorial on how to take natural light portraits!
How to Coach Subjects for DIY Portraits
Ditch the portrait studio, and take great photographs of your friends for their profile page, their rock band poster, or just because you’re feeling inspired!
With this easy-to-follow portrait guide, you’ll be snapping amazing portraits in no time. Creating authentic photos with personality has never been easier with these easy coaching tips.
SUPPLIES LIST
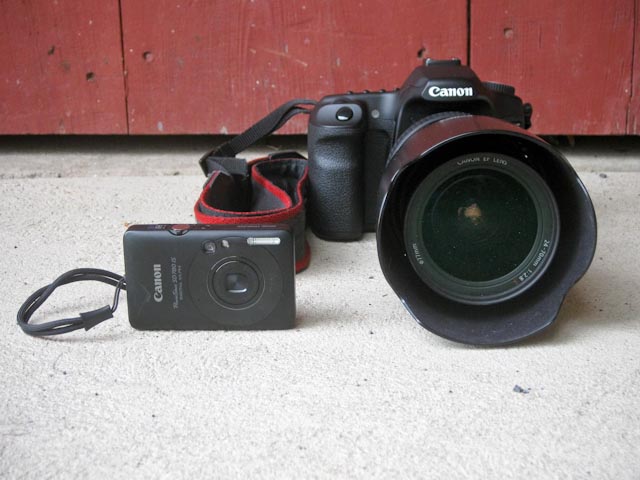
- Digital camera – either a DSLR or a point and shoot
- Access to natural light
You can use either your DSLR, or your point and shoot camera for this tutorial.
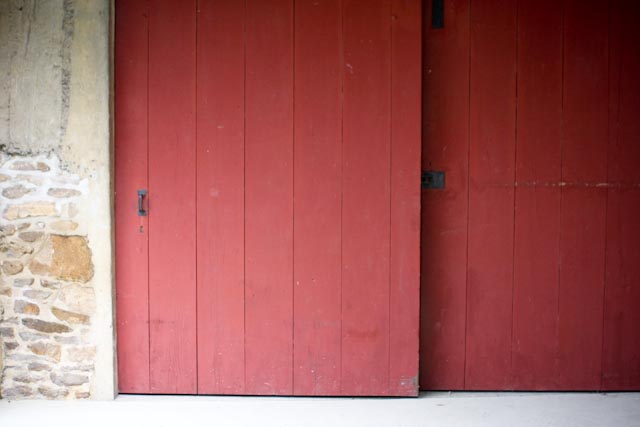
STEP ONE: SELECT YOUR LOCATION
Find a complimentary background for your portraits. The location should have soft natural light in the morning or late afternoon. The background you select should go well with your friend’s clothing and personality.
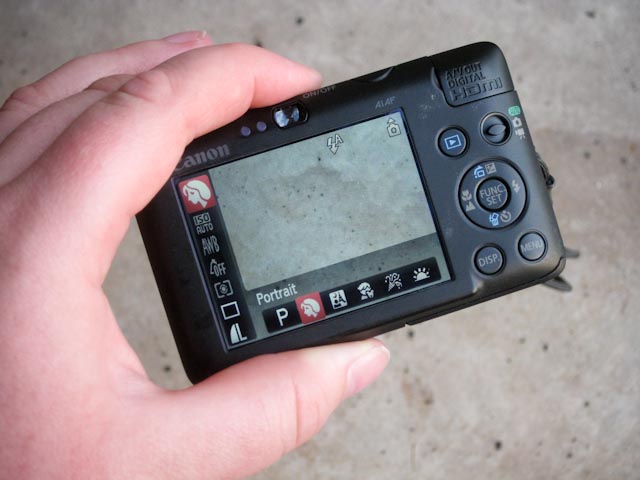
STEP TWO: CHOOSE YOUR CAMERA SETTING
You want to be sure that you have the correct settings before you begin. Select portrait mode on your point and shoot camera. If you have a DSLR, you can choose the same portrait setting, or select aperture priority (Av) and use a low f-stop like 2.8, to get a nice soft background. I shoot in Manual mode and use my light meter, however if you are not comfortable doing that, automatic or aperture priority is a great place to start.
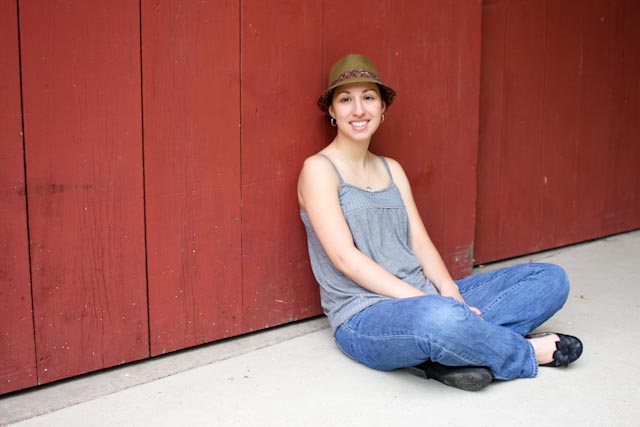
STEP THREE: POSITION YOUR SUBJECT
This step is where you show your friend the location and have them sit to relax for their portrait. Sitting instead of standing will put them at ease. Ask them to face the natural light, and have them angle their body towards the camera.
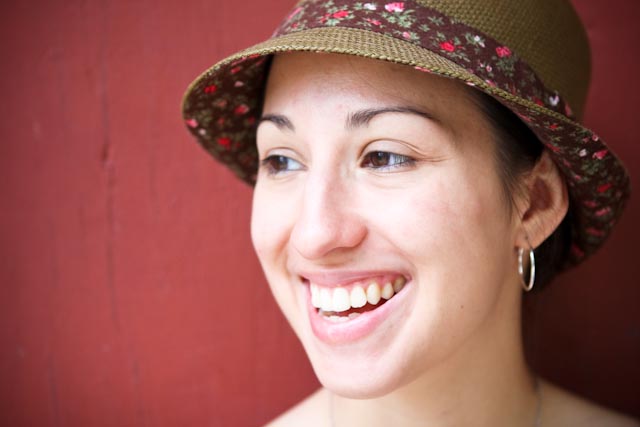
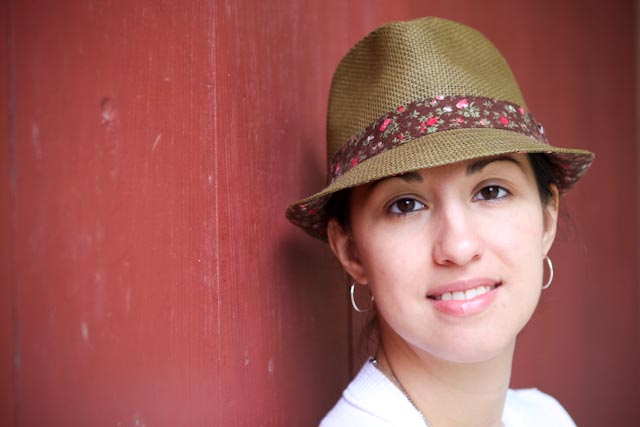
STEP FOUR: CREATE YOUR COMPOSITION
Move in closer to your subject or use your zoom to compose your image. Try to create an interesting crop around their face for the portrait. Consider positioning their face off to one side of the photograph to add interest within the frame. Everyone says the eyes are the window to the soul, so make sure they are in focus!
STEP FIVE: CAPTURE PERSONALITY
Everyone loves portraits that show authentic personality. You can help coach your friend to their best portrait yet by engaging them in conversation while taking their photographs. Ask them to do something funny or silly and then be prepared to capture the laughter afterwards. 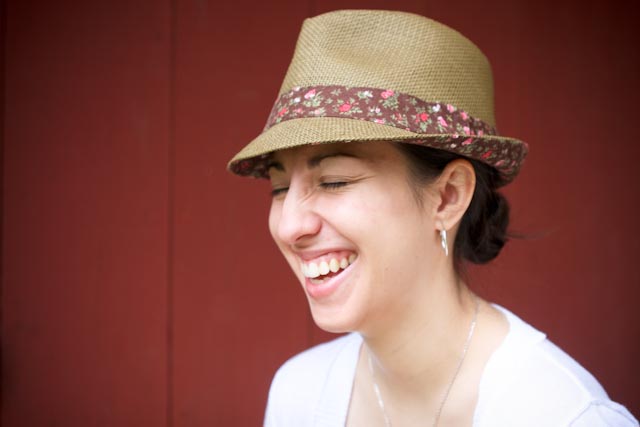
EXTRA CREDIT: Once you download your photos, open up one of your favorite images in the photo editing software on your computer. Reduce the image color saturation. Then boost the contrast and brightness to create a timeless black & white feel to your portrait!

MORE IDEAS
- Take the photographs from slightly above your friend for flattering and interesting angles.
- Ask your friend to move around, act spontaneous, or do something fun for action photos.
- Experiment with different crops of your friend’s face; focus on just their eyes or their smile.
Download a print version PDF of this tutorial.
Have fun! Let me know if you liked this tutorial/how things worked out when you tried to take your portraits. If everyone likes this tutorial, I will post one about photographing your pets!
-Michelle
PS: Special thanks to Meg for modeling!